Before you can begin closing deals, it's essential to include your opportunities in the mOS. This help file will guide you through various options to achieve that
Accessing the Opportunities screen
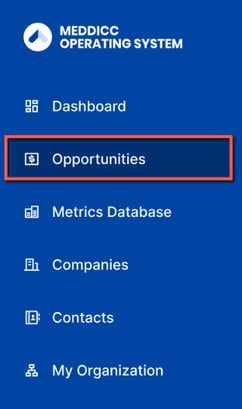
To access all the companies added to the mOS, simply click on Opportunities on the left-hand side of the screen.
Adding an opportunity via Salesforce
If you connected your Salesforce account to mOS, your companies, contacts and opportunities will be automatically imported. If you add more opportunities directly on Salesforce, they will get synch. to the mOS also.
Adding an opportunity manually
Adding an opportunity manually in the mOS is straightforward. Just follow these simple instructions:
- Go to the Opportunities screen
- Select +Add Opportunity on the right-hand side
- Give your opportunity a name, assign the relevant company to it and its owner.
- Once this is done, fill in the following details:
Stage: choose whether it's in Commit, Discovery, Qualified or Unqualified.
Forecast certainty: choose whether it's Pipeline, Omitted, Upside or Commit (optional).
Forecast probability: add the percentage of your choice (optional).
Forecast to close: choose the date (optional).
Contract term: choose the relevant number of months (optional).
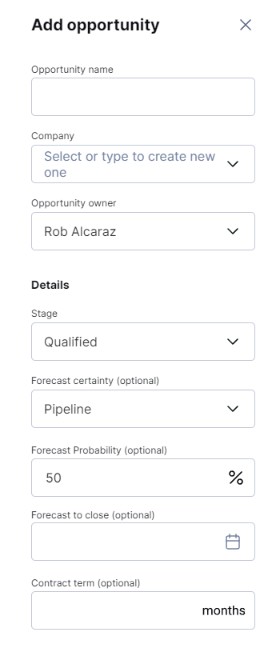
If you want to, you can then fill in all the Costs associated with this opportunity. When you're done, click Add Opportunity.
Once you've completed these steps, your opportunity will appear on the screen, and you can click on it to access all information.
Adding opportunities via import
We recognize that you may need to add a large number of opportunities at once, and in such cases, you can easily perform an import in the mOS. To learn how, please follow the instructions below:
- Go to the Opportunities screen
- Select Import CSV on the right-hand side
- Add your CSV file and click Import
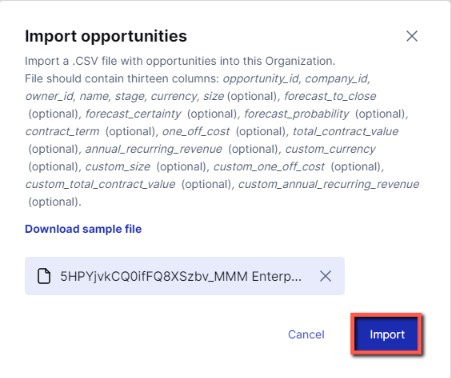
Note: your file should contain thirteen columns: opportunity_id, company_id, owner_id, name, stage, currency, size (optional), forecast_to_close (optional), forecast_certainty (optional), forecast_probability (optional), contract_term (optional), one_off_cost (optional), total_contract_value (optional), annual_recurring_revenue (optional), custom_currency (optional), custom_size (optional), custom_one_off_cost (optional), custom_total_contract_value (optional), custom_annual_recurring_revenue (optional).
💡If you're not sure what your file should look like, you can hit Download a sample file on the import screen.
Once you've completed these steps, your opportunities will appear on the screen, and you can click on any of them to access all information.