The Contacts screen provides a centralized location for storing and managing contact information, making it easy for sales teams to communicate with prospects, leads, and customers. In this help file, we'll take a look at all the different elements displayed and what they mean.
Contacts list
As soon as you access the screen, you'll immediately see a list of all the contacts you're currently engaging with. By default, these contacts are arranged in descending order, with the most recent ones displayed at the top.
Each entry includes the contact's Name, Company, Email address, Job Title, and the Seniority.

Search, Filter and Sort
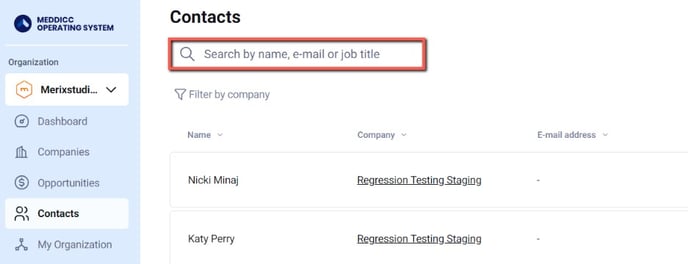
To search by contact name, e-mail or job title on the screen, feel free to use the Search bar at the top left.

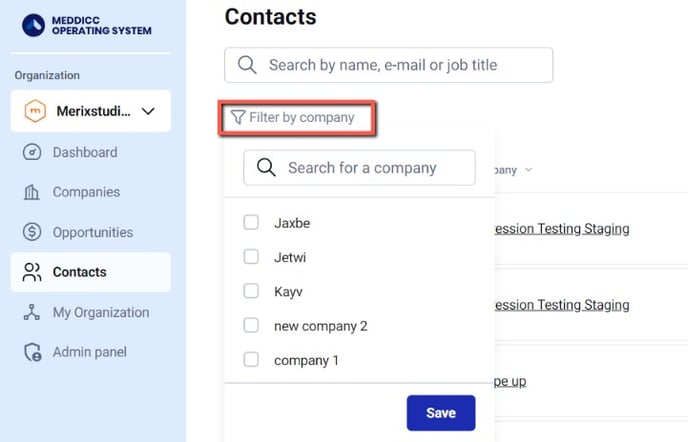
To filter by company, simply use the on-screen Filter by company option, allowing you to easily select the specific companies you want to display.

If you wish to customize how companies are presented on-screen, simply use the toggle button located in the headers. This feature allows you to sort them in ascending order, descending order, or with the most recent ones at the top.

Adding Contacts
Within the mOS, you can add contacts manually, via an import or synch with Salesforce.
