Within mOS, you will be able to clearly determine the Decision Process for each of your opportunities to help you qualify your deals. This help file will show you all the steps to achieve this.
📝 Quick Recap
The Decision Process is the series of steps that form a process of which the buyer will follow to make a decision. It breaks into two parts: Technical Validation and Business Approval.
Both parts are linked but usually run independently of each other with the Technical Validation coming first.
Adding the Decision Process to an opportunity:
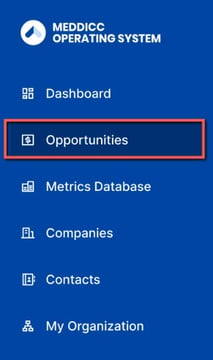
- First of all, you need to select the Opportunities section on the left-hand menu.
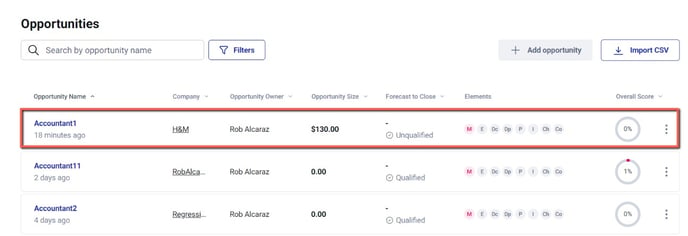
- Click on the opportunity you wish to add the Decision Process to.
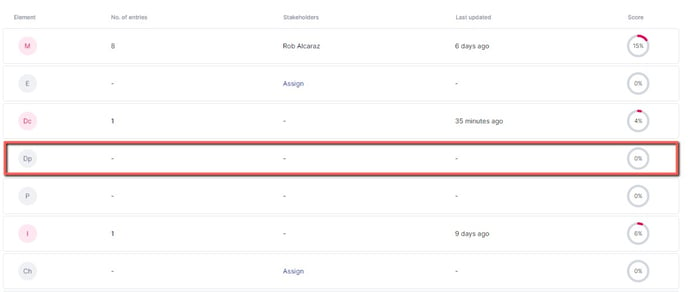
- Click on the Dp element for this opportunity (Dp = Decision Process).
- Click on the Map Decision Process button at the center of the page. If you already have one added for this opportunity, they will show on this screen directly and you will be able to change it.
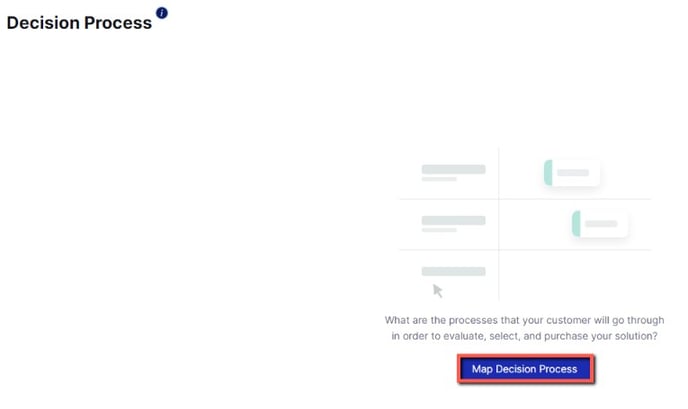
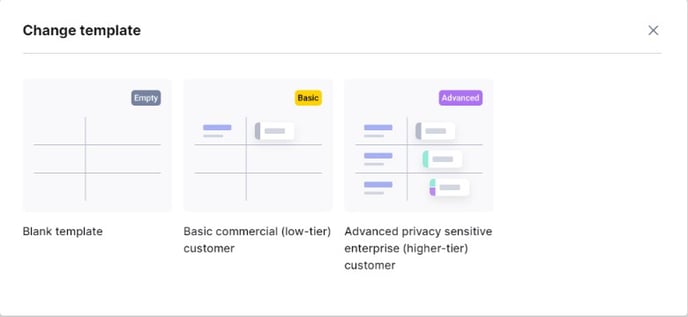
- Three templates will be shown on screen. Simply select the one that works best for this particular opportunity and hit Use Template.
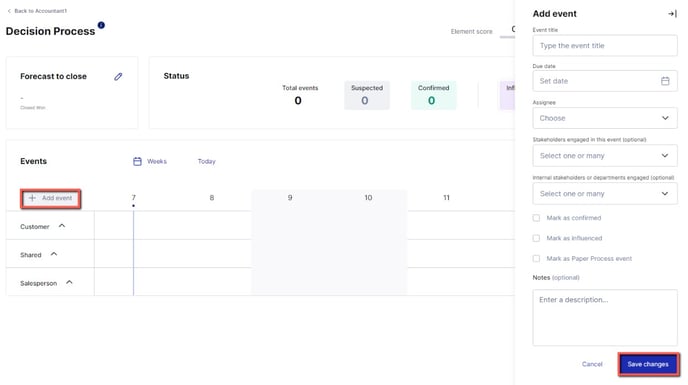
- After that, you will be able to click +Add Event and fill your Decision Process with Paper Process events to create a timeline. Once you're done, click Save Changes.
🔍 Find out more about Paper Process.
And that's it! You've now added the Decision Process which will increase your opportunity's overall score!