Metrics are the quantifiable measures of value that your solution can provide. Picture your customer in the future, live with your solution. What KPIs are they using to measure the impact it has had within their organization? It is likely that some of these KPIs can form your Metrics.
📝 Quick Recap
Here at MEDDICC™, we have three different types of Metrics that we will use as part of the MEDDPICC Sales Methodology:
- M1s: business outcomes you have delivered for your existing customers.
- M2s: metrics you have personalized specifically to your customer
- M3s: validated M2 after the solution has gone live. These can be used to go back into your M1 repository
Within mOS, you will be able to create various metrics and attach them your opportunities to help you qualify your deals. This help file will show you all the steps to achieve this.
Creating a M1:
⚠️ Creating a M1 can only be achieved from the Metrics Database screen in the mOS. You can find out all the steps to do this on the link below.
Creating a M2 or M3:
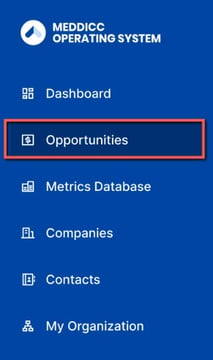
- To create metrics in the mOS, you need to select the Opportunities section on the left-hand menu.
- Click on the opportunity you wish to add a metric to.
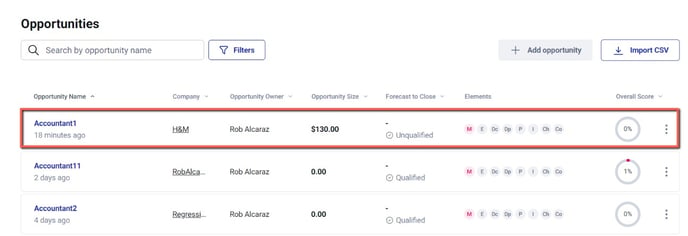
- Click on the M element for this opportunity (M = Metrics).

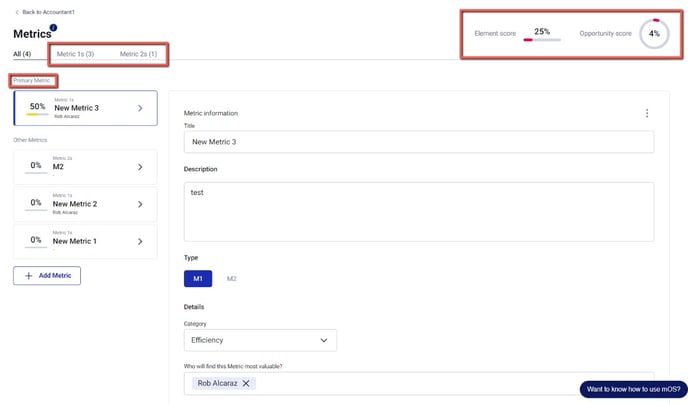
- Click on the +Add Metric button at the center of the page. If you already have metrics added for this opportunity, they will show on this screen directly.

- Give your metric a Title and add a short Description of all its variables. You can then select if it's a M2 or a M3.
- Once this is done, add the following information:
Category: choose if it's a Risk, Efficiency, Revenue or Other metric.
Who will find this Metric most valuable?: in this section, you should add the Economic Buyer and the Champion of the opportunity.
Status: you then choose the status of the metric, whether it's:
Unconfirmed: the relevance of this metric is unconfirmed.
Discussed: the relevance of this metric has been discussed but not agreed to.
Consensus: the relevance of this metric has been confirmed by the customer.Owner: add yourself as well as any other team members associated with this metric.
Negative Impact/Pain: what is the pain associated? What issue are you solving?
After state: what is the state after you used this solution? What's the outcome?
Positive Impact: here you can input the value outcome(%/$) achieved by implementing the solution. You can add more than one.
Description/Story: you can add more information about this metric.
Solution or Product purchased: what is the action or strategy you used to address the pain.
- You can also choose to tick Treat as the Primary Metric. This means that this particular metric is crucial to the deal and will heavily impact the Element and Opportunity score.
- Once this is done, click Update to add the metric to the opportunity.
You will then see the Metrics screen populating and the Element score and Opportunity score increasing.
And that's it! You've now added a Metric to your opportunity which will increase its overall score!